So, you’ve forgotten your tent, and civilisation is hours away. Perhaps you console yourself with the romantic proposition of a beautiful night staring straight up at the unspoiled, starry sky. But no sooner have you lit a fire and picked up a good book do you realise that there’s a rain storm fast approaching!
Yes - it’s time to find out if mother nature can truly provide, and whether or not you have the resourcefulness to fashion the natural building blocks of the woodland into something robust enough to shield you from misery and failure. No pressure!
Bivouac (aka Lean-To)
The bivouac is one of the simplest shelter designs, perfect for when you’re caught in a pinch!
However, it does have one fatal flaw; due to its open-ended design, if the wind and rain change direction, the shelter will be rendered more-or-less useless.
- Create a goalpost type frame - this can be achieved by using a couple of branches that are forked at one end, placed in the ground to serve as vertical posts, and then a longer branch as the ‘crossbar’
- Alternatively, a tree can serve as one of the vertical posts, which can improve structural integrity
- Once the basic frame is complete, lean branches up against the horizontal branch at a 45 degree angle to stave off wind and rain
- Cover the leaning branches with earth, leaves, and moss
If you complete the bivouac in plenty of time, some side walls could be erected using extra branches to provide further protection from the elements. Just use caution and ensure that the basic frame is not overburdened.
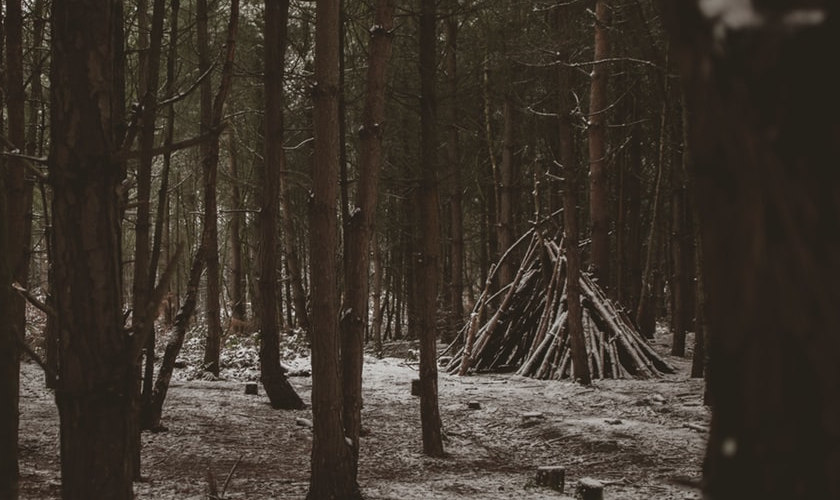
Wickiup (aka WigWam)
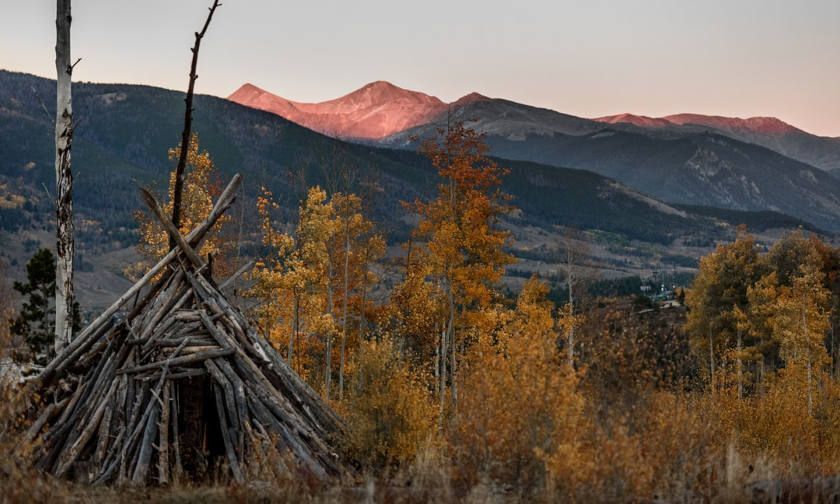
This shelter is perfect providing you have enough time to gather the many branches necessary to build it.
- Scavenge twenty long branches with forked ends
- Take the first three and place their non-forked ends in the ground
- Lock together the forked ends at the top, so that they counter-balance to form a basic tripod
- Add the other branches you found and distribute them evenly, locking their forked ends at the top continually
- Leave a small gap so that it can be used as an entrance.
- Once this is complete, close the gaps between the branches using leaves, moss, and earth
Wickiups have the added benefit of longevity. When built with care, they can last a long time, which is great news if you’re caught in a long-lasting rain storm (providing you have enough supplies)!
Leaf Hut
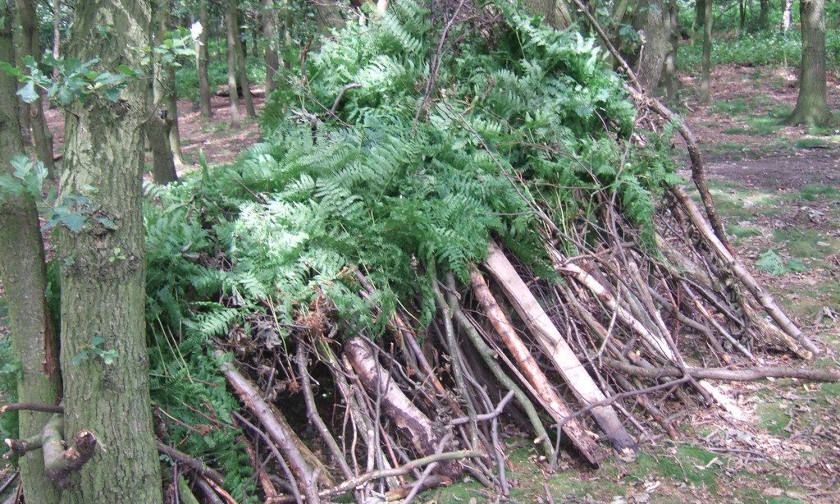
This shelter is particularly useful if you’re on a solo expedition. It only takes up the real-estate required for one person, and isn’t too labour-intensive to construct.
- Find one branch that is forked at one end, and another, longer branch with no forks
- Stake the non-forked end of the first branch in the ground (if it’s too wobbly, prop rocks up against it to make it sturdier)
- Take the long branch and prop one end up against the forked end of the first branch, with the other end resting on the ground
- Take some smaller branches and place them at 45 degrees along each side of the long branch to create a rib-cage effect
- Once the structure begins to look fairly solid, use leaves, moss, and earth to fill in any gaps that appear between the side-branches
- Add extra insulation against the cold and wet by piling lots of leaves and vegetation over the top
On a cold, wet night, a shelter like this one can make all the difference. If you have a good sleeping-bag, it’s actually quite cosy! It can be improved with a small tarp to cover the entrance and guard against rain. Even a decent-sized shopping bag can serve the same purpose.
One important tip: make sure that you build the shelter up-slope, or you may find yourself rather soggy come morning!
A-Frame Tarp
Some might consider the use of tarp as a bit of a cheat, but if you have some to hand, and a decent length of rope, then why waste good resources?
- Run a line of rope horizontally between two trees and place the tarp over the top
- If the tarp is large enough, stake down its corners (along one edge first, and then the opposite edge – pulling the tarp taut as you stake)
- If the tarp is not large enough to meet the ground on both sides, use rope or twine to close the distance between the edge of the tarp and the ground
- If you have the means to do so, put stakes down at other points along the edges of the tarp to make it as secure as possible
The A-Frame tarp is one of the fastest shelters to set up, but it’s also one of the most exposed and vulnerable to strong updraught wind. If you have the time to construct one, a branch-based shelter will almost always serve you better, but when it appears that there’s no time to lose, then this is the one!
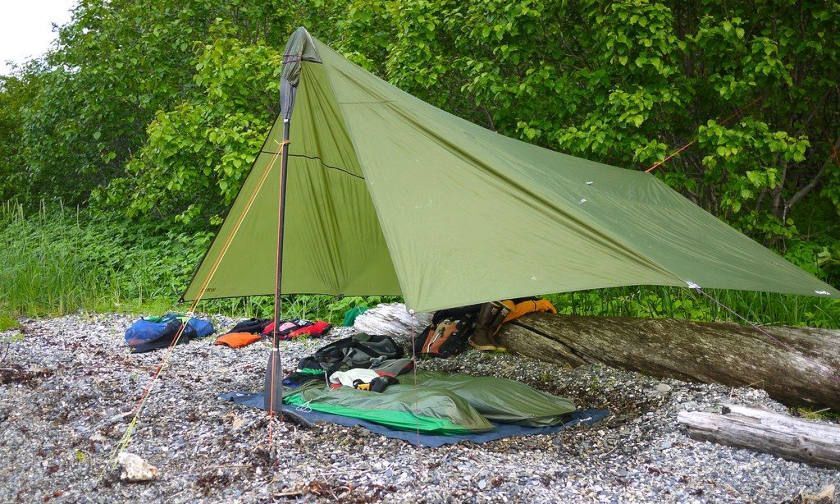
Wedge Tarp (aka Closed-End A-Frame)
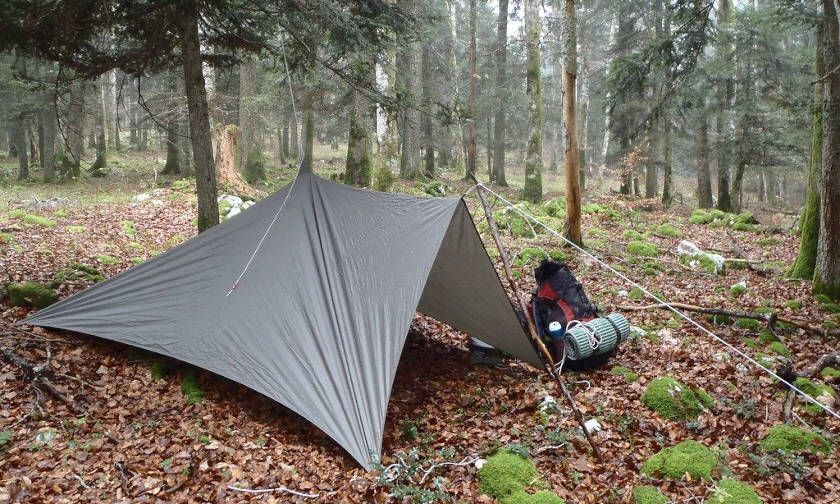
This final shelter is like a tarp-based version of the Leaf Hut shelter. If you have the luxury of a trekking pole, it can be used as a tent pole for the open end of the wedge. If not, try to find a suitable branch.
- Stake down what will form the closed end of the wedge, making sure you have this end facing the direction you’re expecting the wind and rain to come from, and the opposite, open end away from the appalling weather
- Prop up the open end using a trekking pole or hand-picked, luxury branch
- Achieve some tension in the tarp by staking down the corners either side
- If you have rope or twine, for added tension and strength, make a 45 degree guy line down from the top of the pole (or branch) to the ground.
With its lower profile, this shelter should provide better cover than the A-frame tarp shelter, but you would get less of a footprint for the same amount of tarp. On that basis, this shelter would be better for a single person, but the A-frame tarp method could provide overhead cover for a small group and/or their gear.
Safety Notice
Although temporary shelters might provide some welcome relief in an unanticipated rain storm, there really is no substitute for a purpose-made tent or shelter.
If you’re planning a trip, please learn as much as you can about the area you intend to visit and consider what elements you will potentially have to contend with. Always have a plan, and a continuity plan, and a back-up plan for that too!
Ensuring that you have ample supplies and resources to support your physiological needs for the whole duration of your trip is a must: Food, water, shelter, bedding, spare dry clothes, a heat source etc.
That being said, another challenge you might face is making sure that you’re fit enough to carry it all!
Take a look at our Den/Shelter Building Activity .